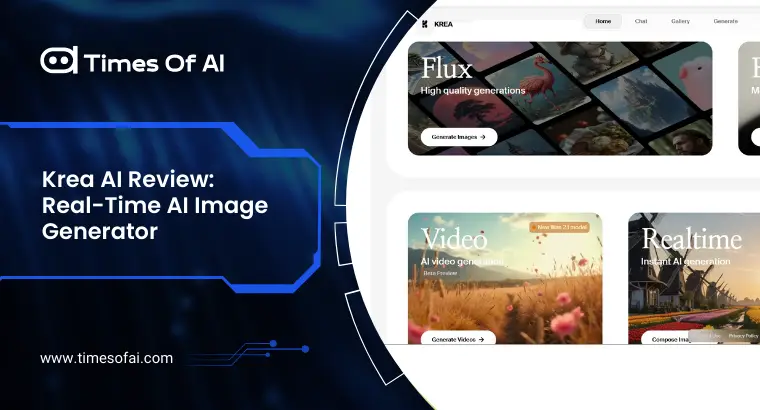
Krea AI isn’t just another image generator. Its current workspace brings together a bunch of features, like image creation, video generation, enhancement, editing, real-time rendering, training custom models, lip sync, motion transfer, and 3D generation, all in one place. It lets people mix and match AI models and creative steps within automated workflows, which is much more natural than juggling multiple tools.
KreaAI is especially handy when your project needs more than one image. A normal workflow can start with a Moodboard, move into Image Creation, use a Krea LoRA to keep things consistent, send it through the image Enhancer, and then turn it into video with Video or Motion Transfer. More advanced workflows can connect these steps through the Krea Node Editor.
Cost-wise, Krea AI is relatively affordable compared with using separate tools for image generation, video creation, upscaling, editing, 3D generation, and other creative workflows. The paid Basic plan starts at $9 per month and is best for individual creators who want more than the free tier offers. The Pro plan is $35 per month and unlocks all major Krea features, including all video models, full Node Editor access, Apps, and more creative options. If you want the whole Krea ecosystem, the Max plan at $105 per month is usually the better deal. The Max plan is better suited to serious professional use, especially if you need higher usage limits, unlimited LoRA training, and extra generation capacity.
Lets Explore Krea AI Tools
1. Moodboard
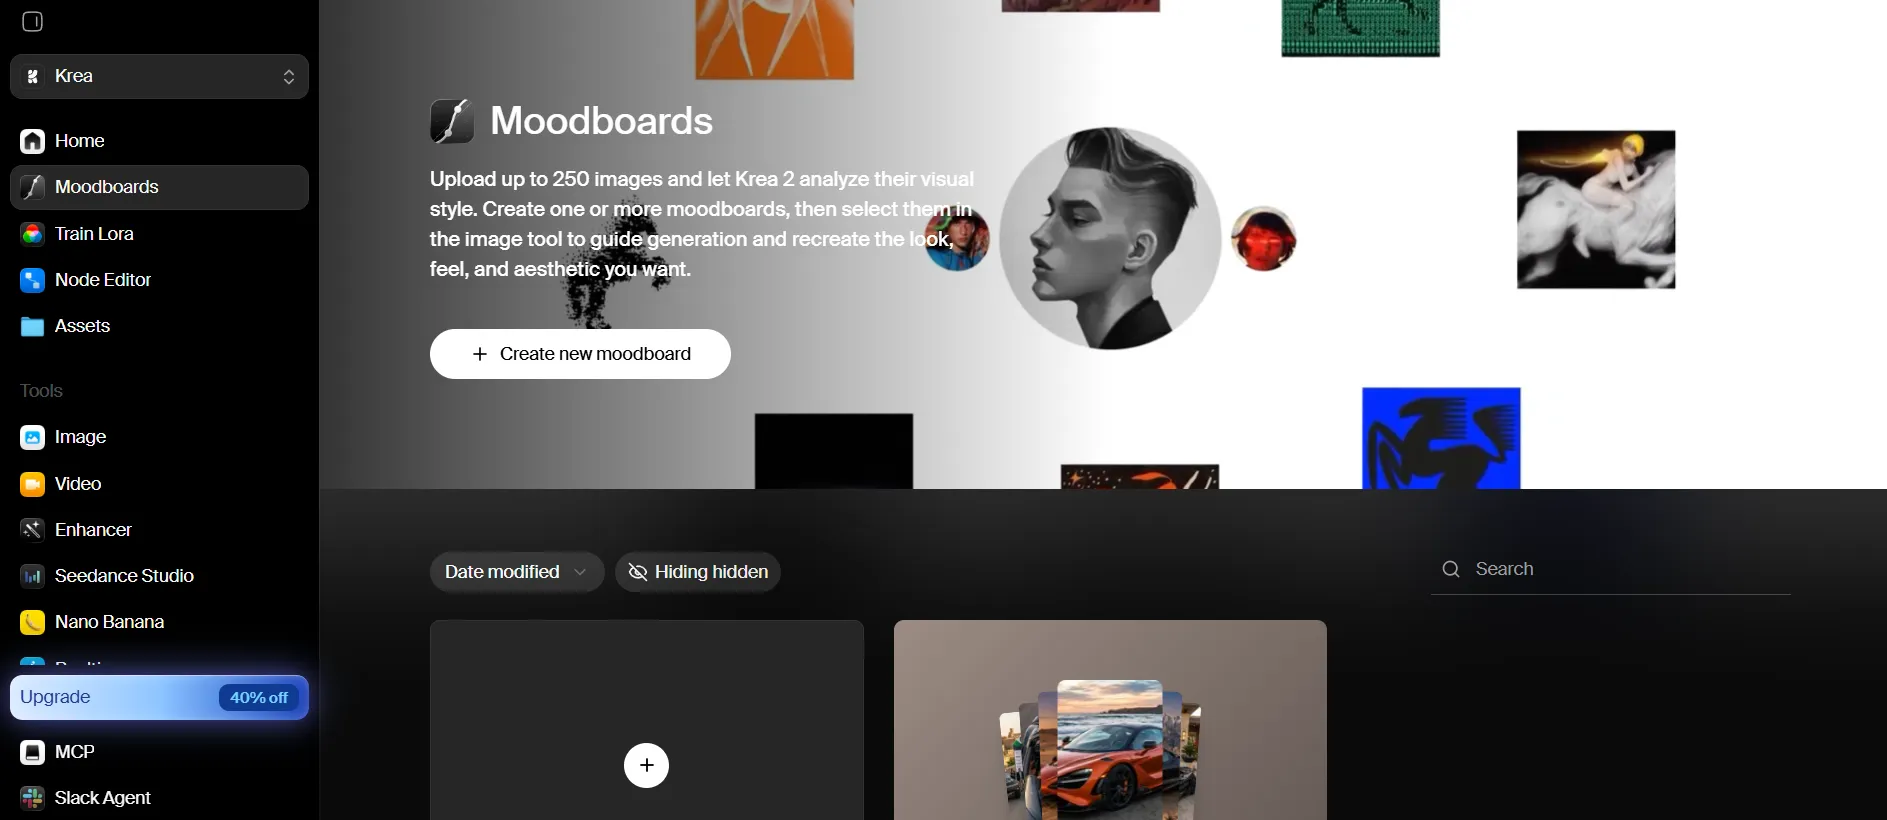
Krea Moodboard AI helps establish consistent visual direction for AI-generated images. Instead of relying solely on text prompts to explain a style, users can include multiple reference images and use them as a visual guide later. This matters a lot for brands and creative projects because otherwise AI images can drift. They can end up changing in color, lighting, composition, texture, and even the general treatment from one run to the next. A moodboard basically creates a visual reference system. It can help keep things aligned across color palettes, lighting qualities, compositional patterns, texture and grain, subject treatment, and overall visual style. This is extremely useful for advertising campaigns, product photography, social media posts, editorial work, character development, and brand imagery too.
How to use Moodboard AI?
First, open the AI moodboard generator, then upload several images that represent the visual direction you want, and create the board. Make sure your images actually match the aesthetic you want, not just some random examples that look “similar enough” in your head. Once it’s created, you can fold the moodboard into your image-generation workflow, so later outputs follow the same established direction without extra effort.
2. LoRA
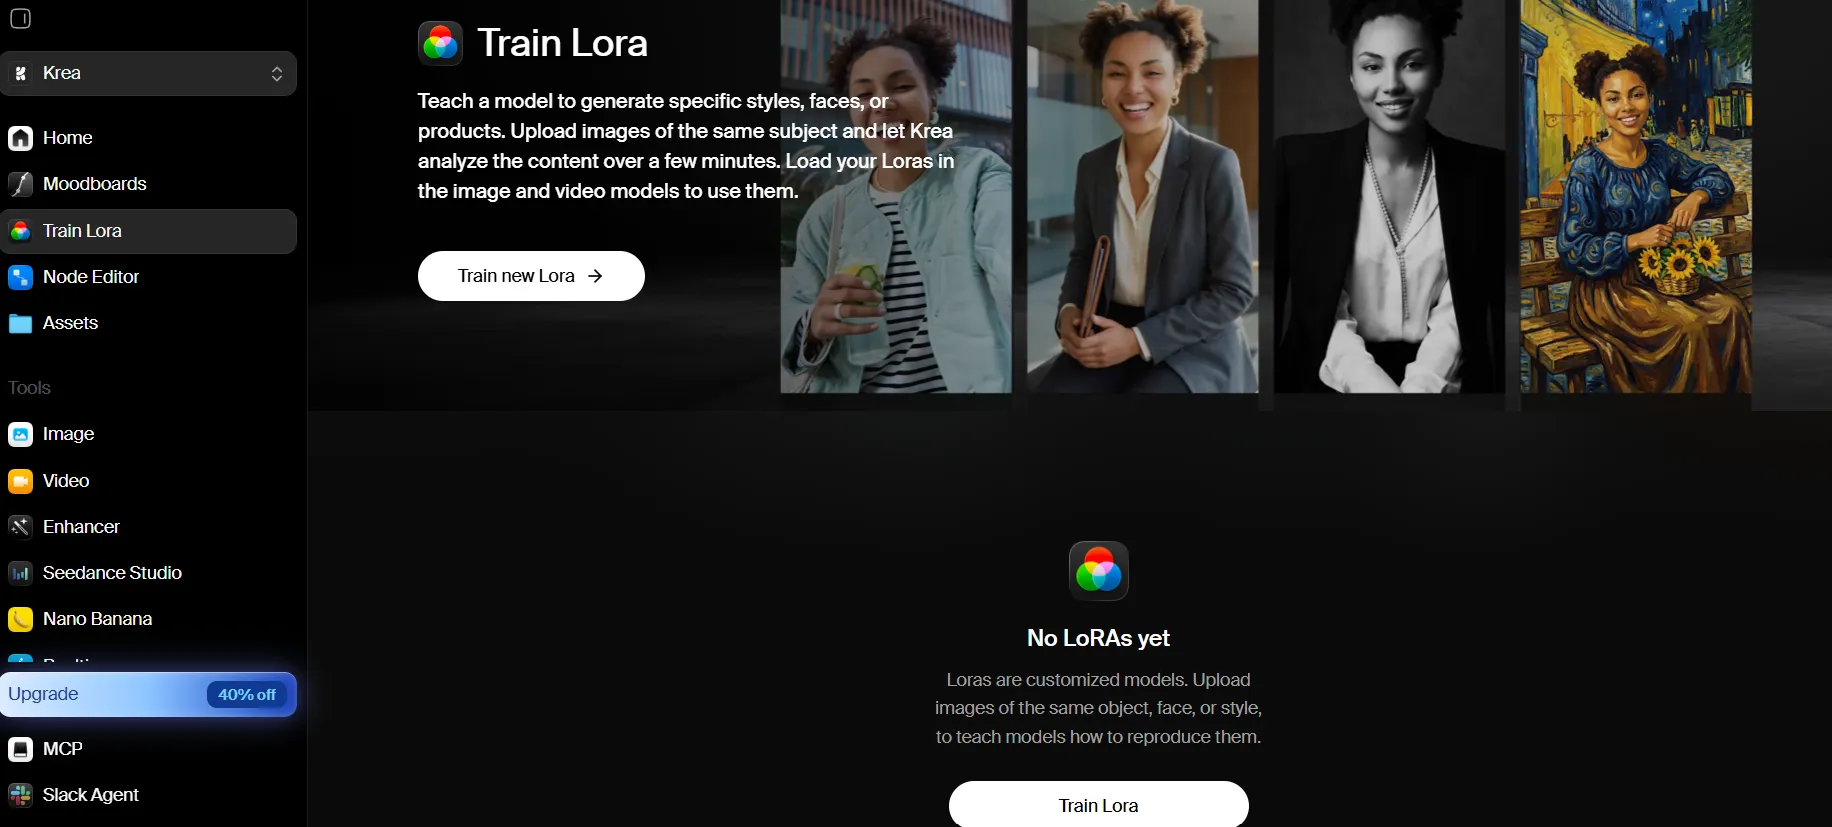
Krea LoRA lets users train a customized model around a particular subject, style, product, or character. Instead of repeating the same visual characteristics in prompts, a trained LoRA can serve as a reusable visual cue. Right now, Krea’s LoRA workflow supports training custom models for characters, styles, and objects. The Basic plan includes LoRA fine-tuning with up to 50 images, while higher tiers offer broader training options. LoRA starts to feel really valuable when consistency is everything. Imagine a creator building a fictional character, training it once, and then just keeping that LoRA across a bunch of different scenes. It can also be pretty handy for brand visual styles, product appearances, recurring characters, illustration styles, specific objects, and consistent image and video generation.
How to use Krea LoRA?
Open Train, upload a carefully selected set of reference images, choose the training settings you need, and start training. Once LoRA is ready, you select it when creating new images. For the best results, those training images should remain consistent and represent the subject or style you are teaching.
3. Node Editor
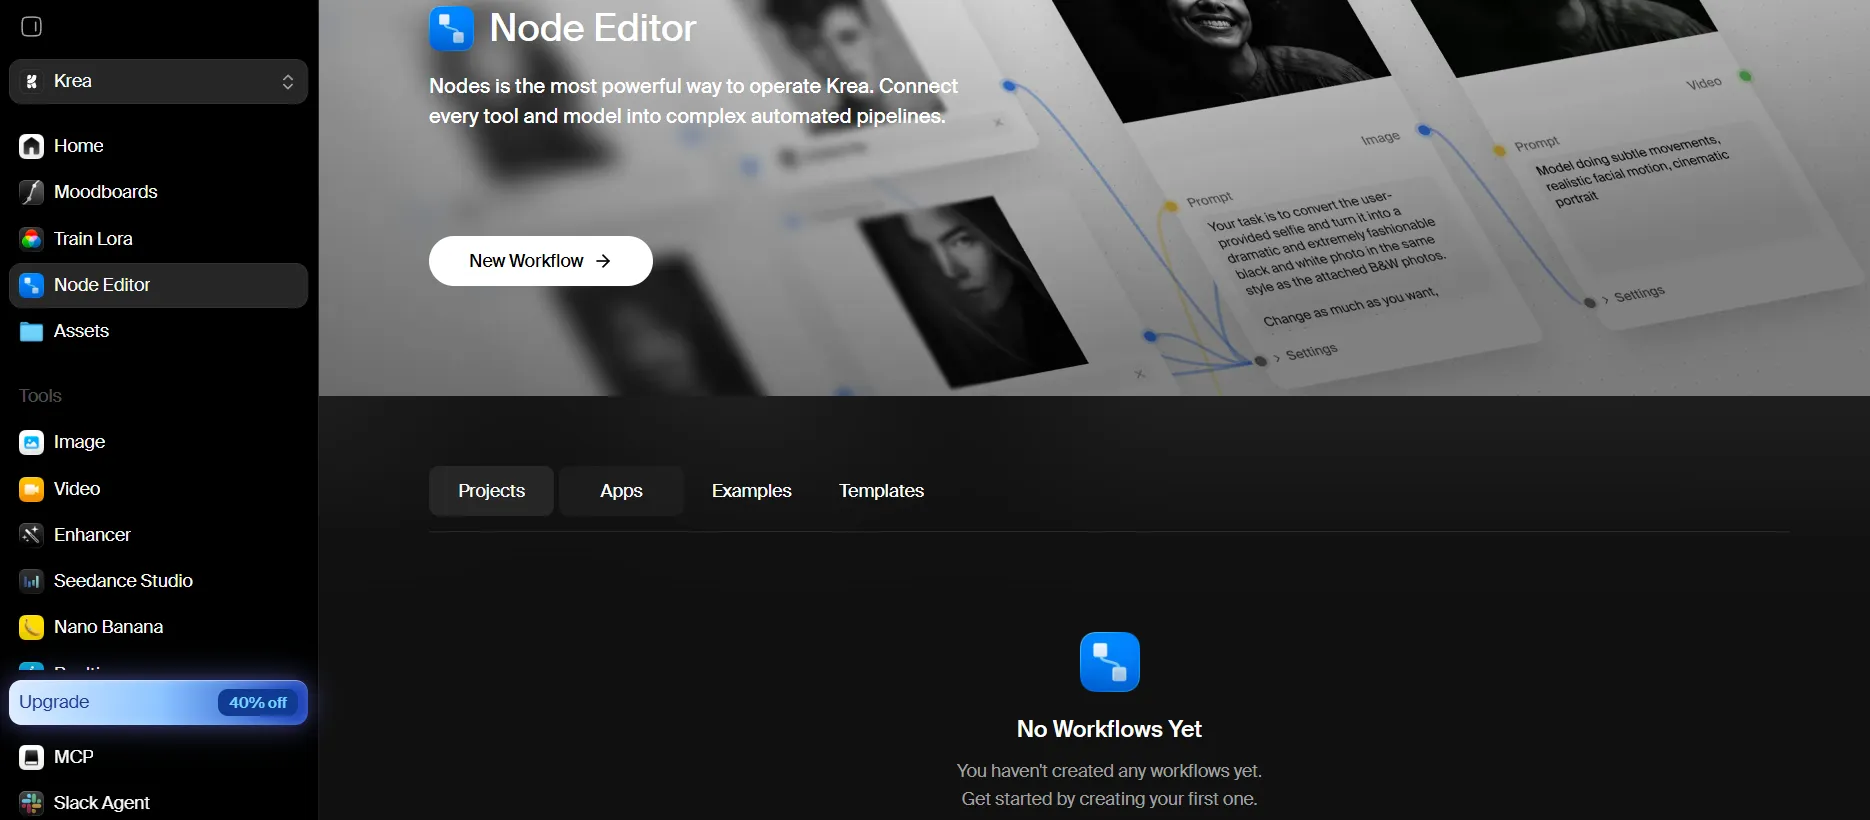
The Krea Node Editor lets people visually connect various AI operations into a single flow. Instead of doing every step by hand, you can build a chain where what one model outputs becomes the input for the next one. Krea’s AI Nodes system supports workflows that cover image generation, video, enhancement, and other AI operations. With the Pro plan, you get full access to Krea Nodes and Apps, including premium nodes and workflow automation, with automation being the biggest advantage. If the same sequence has to be repeated for dozens of assets, a node workflow can reduce much of the tedious repetition. Instead of manually downloading then re-uploading files between tools, the workflow ties those steps together right on the Krea canvas.
How to use the Krea Node Editor?
Open Nodes and add the models, operations, or whatever steps are needed for the workflow, then connect their inputs and outputs. Afterward, test the workflow with just one asset before scaling it into a larger production process.
4. Image Creation
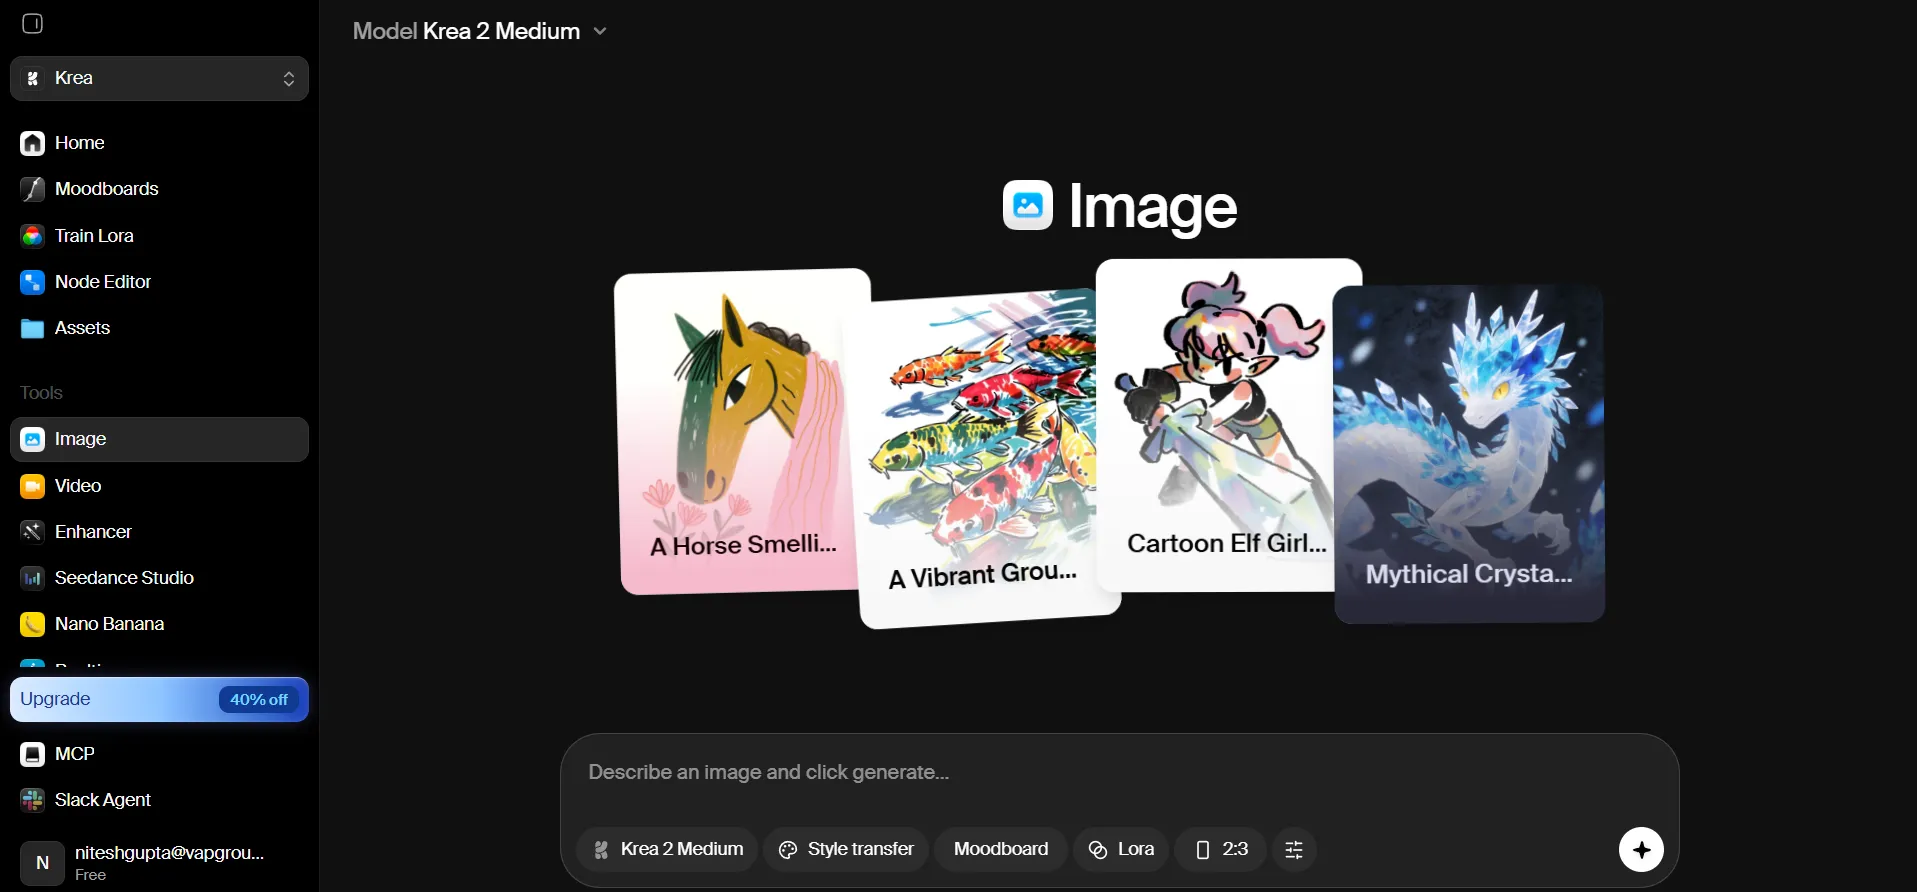
Krea’s Image Creation tool creates images from text prompts and also lets you access multiple image-generation models. Krea currently offers models like Krea 2, Flux, Qwen Image, Ideogram, Nano Banana Pro, and more. Being able to choose among models matters because different models can yield different outcomes in photorealism, illustration, typography, editing, realism, and artistic styles. Krea 2, for example, feels more focused on aesthetic variety, style handling, and expressive visual direction.
How to use Image Creation?
Open Image, select a model, and describe the image you want. Try to include the subject, environment, composition, lighting, camera perspective, and style as detailed as possible. For more stable results, add a Moodboard or use a Krea LoRA. Also experiment with aspect ratios and the available output sizes for the model and your project needs.
5. Video Generator
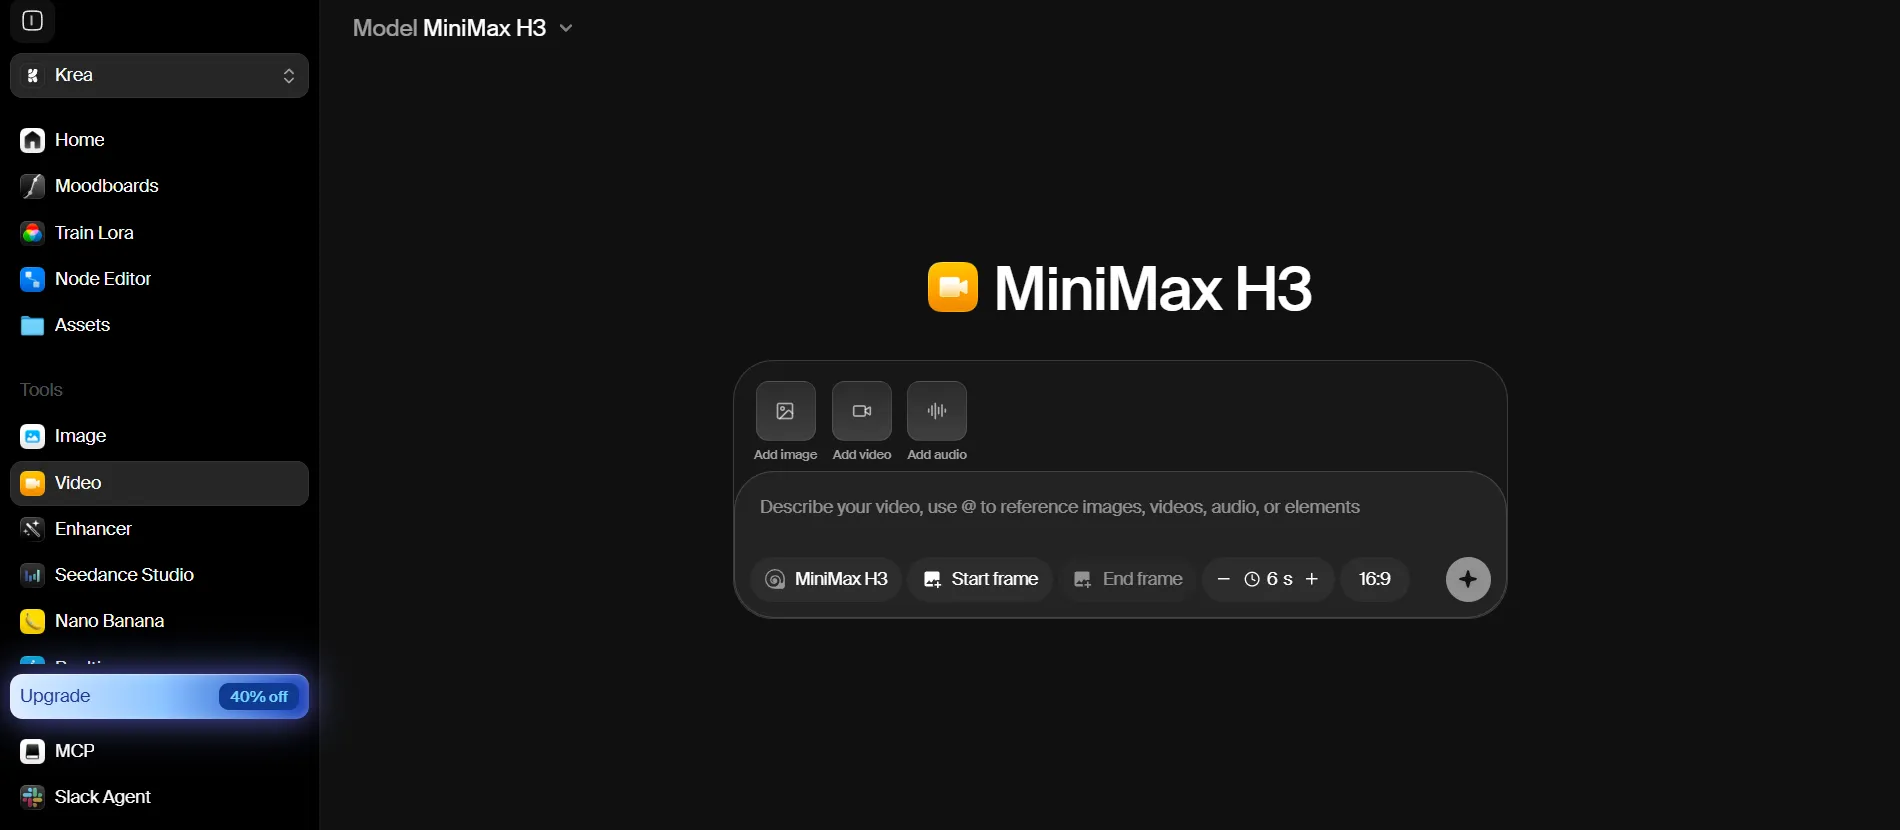
Krea’s Video feature generates AI videos from text or image inputs and gives you access to video models from several providers, including Hailuo, Pika, Runway, Luma, and others. Instead of relying on a single AI video generator, Krea supports a model-selection workflow, which is useful because different models can offer varying motion quality, realism, stylistic direction, camera control, and generation speed.
How to create Videos from Video generator?
Open Video, pick a video model, then give it a text prompt or a starting image, and describe what movement you want. Image-to-video is especially useful when you already have a Krea-made image, and you’d like to animate it directly from that base. The first visual sets the subject and composition before any motion is even added.
6. Enhancer
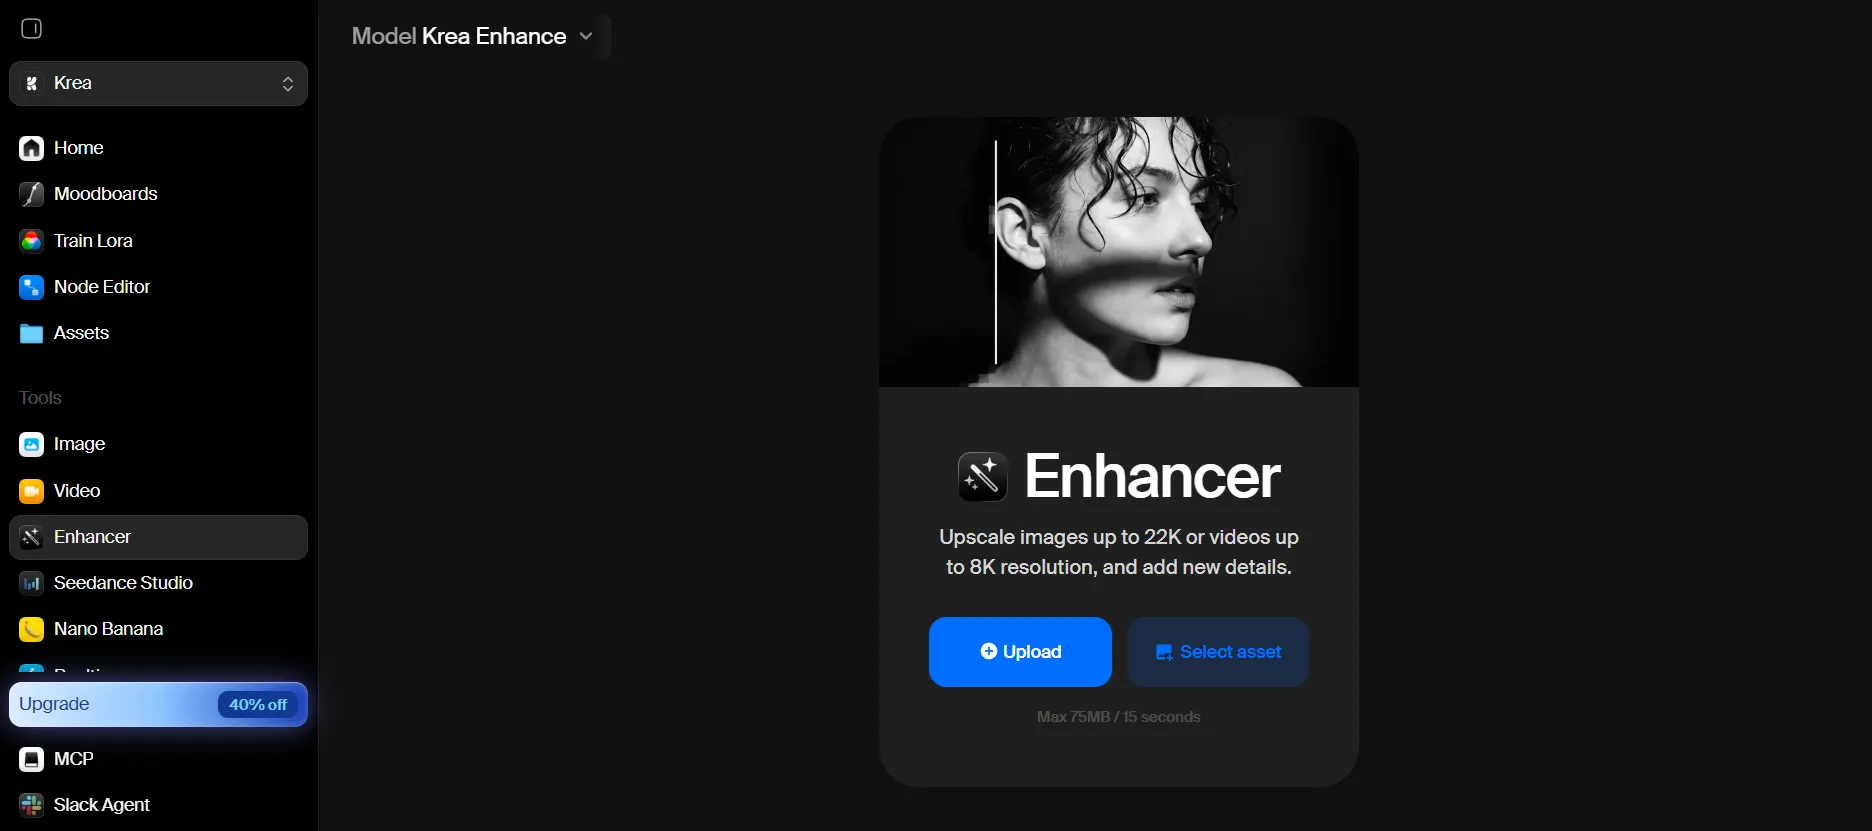
Krea video and image Enhancer boosts the quality and resolution of existing media. Krea calls it a generative image and video upscaler that can add tiny details while also increasing resolution. Right now, the platform supports both image and video enhancement, and the higher-tier plans usually include higher-resolution workflows. A Krea AI photo enhancer really helps when the asset looks creative already, but isn’t sharp enough or doesn’t have enough resolution for where you plan to use it. This tool can upscale images and help with low-resolution images, AI images that look a bit too soft, blurry photographs, product imagery, large-format visuals, and images that need more fine details.
How to enhance images using Krea AI photo enhancer?
Open Enhancer, upload the source file, choose the enhancement model or the available settings, then generate the improved version. After that, check the output carefully, especially for faces, text, and intricate details where small changes can stand out.
7. Nano Banana Pro
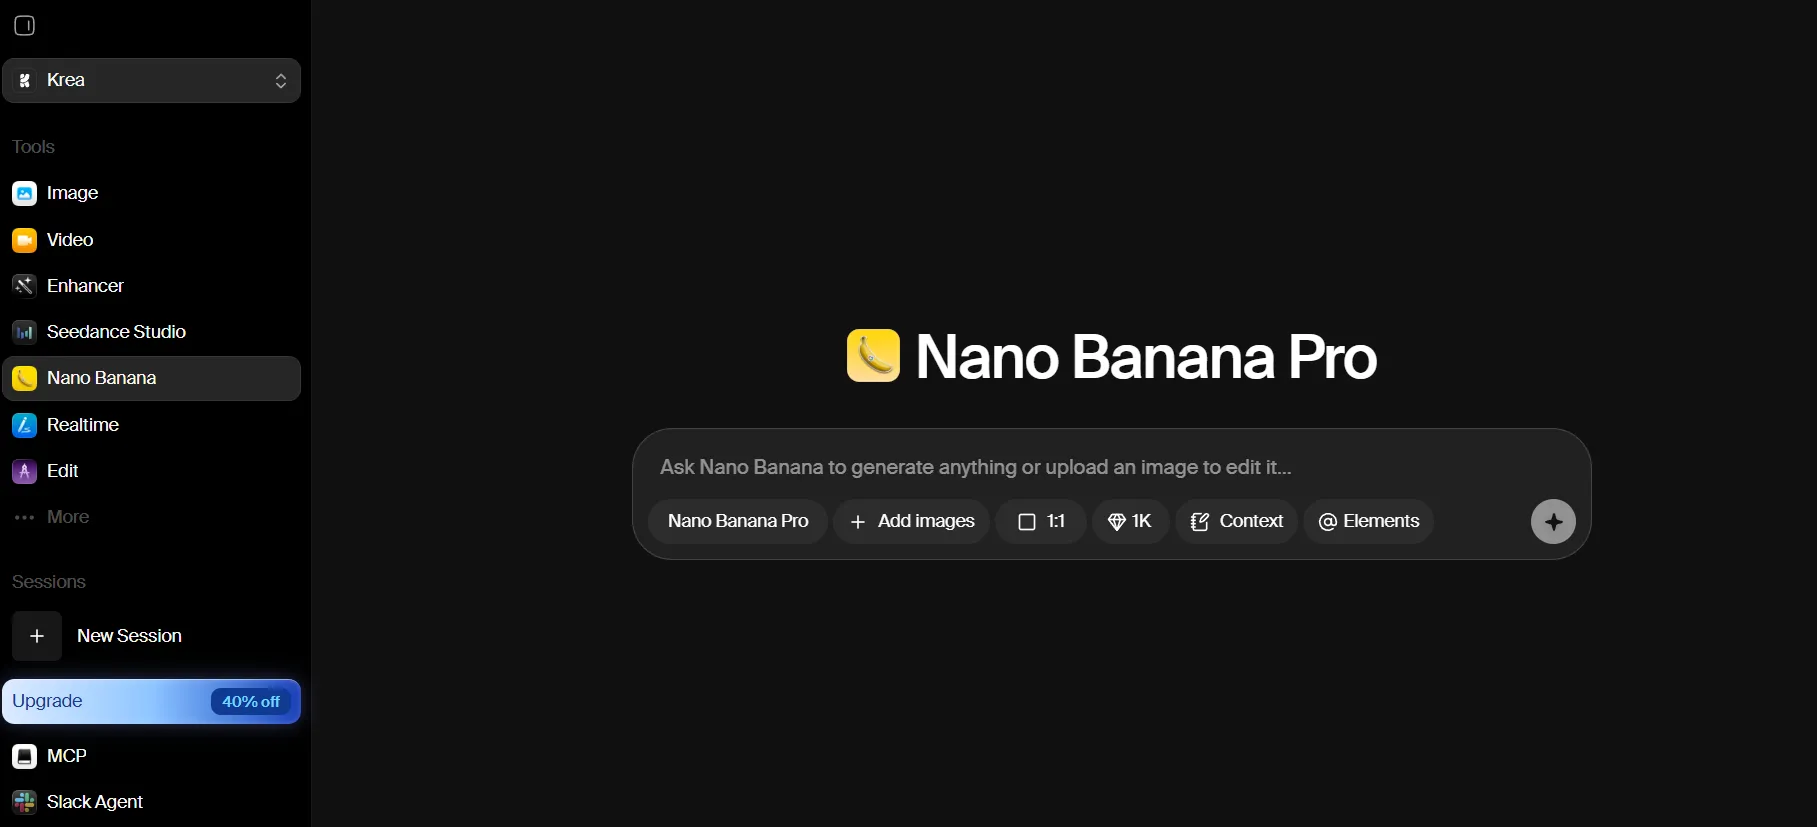
Nano Banana Pro is Krea’s interface for Google’s advanced image generation and editing model. It’s really handy for making and revising images with natural-language instructions. You can use it for object changes, composition tweaks, visual transformations, and other more targeted image-editing workflows.
How to use Nano Banana Pro?
Open Nano Banana, upload an existing image, and then describe what changes are needed. Instead of going over the whole image again, say exactly what should be different and what must stay as is. This keeps it helpful for iterative design, where preserving the original composition is the main thing.
8. Realtime Image Creation
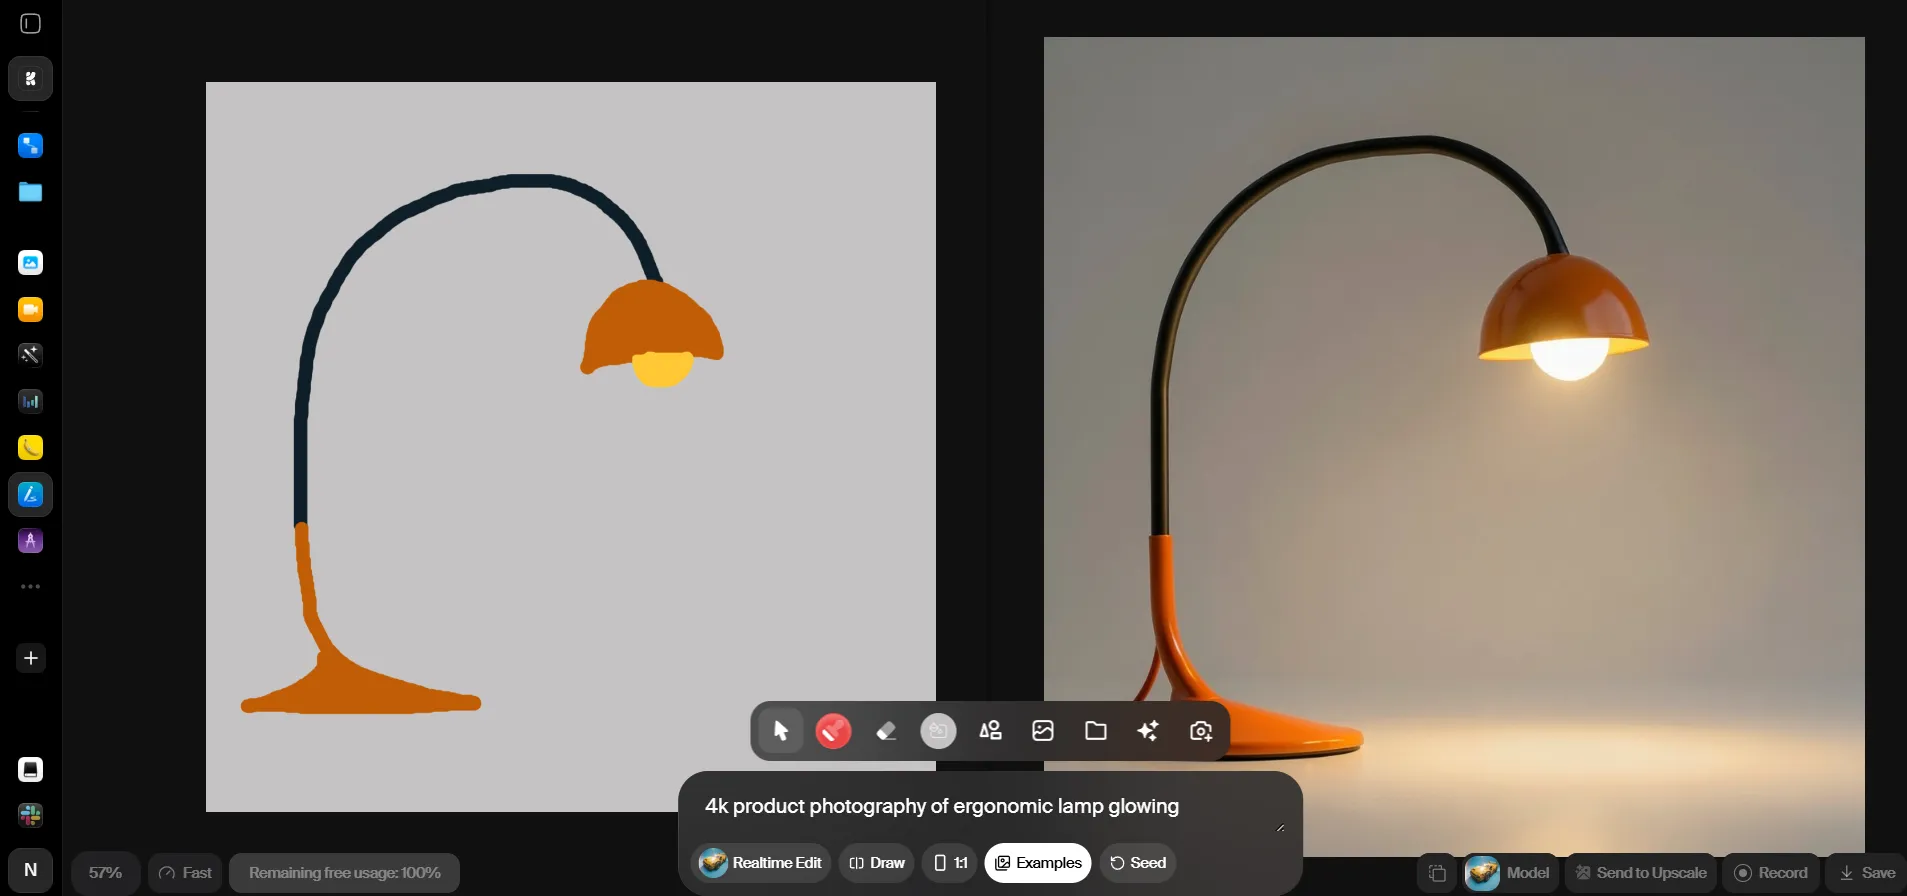
Krea Realtime Image Creation is its strongest feature. It generates visuals in real time while users type, draw, or tweak inputs. Krea calls Realtime an interactive canvas, built for fast feedback. Traditional image generation usually means creating an image, looking at it, adjusting the prompt, and then creating another one. Realtime cuts that wait time, so visual experimentation becomes much faster. It is especially good for concept development, sketch-to-image production, composition exploration, live demonstrations, and rapid art direction.
How to use Krea Realtime Image Creation?
Open Realtime and start with a prompt or a sketch. Draw simple shapes or adjust the canvas while also changing the prompt as needed. The visual output updates as the creative direction shifts. This makes Realtime really useful during early ideation, before you commit to any final high-quality generation.
9. Edit Image
Krea Edit lets you modify an existing image rather than making a totally new one. Krea describes it as a way to add objects, shift styles, or extend existing images while keeping the main composition intact. Editing is often more efficient than regenerating. If the image already has the right subject, framing, and lighting, you can make focused adjustments without starting from scratch.
How to use Edit Image?
Open Edit, then upload an image, and describe the specific modification in a way that feels natural. Ask Krea to change an object’s color, add a small element somewhere, remove something obvious, or expand the scene to another aspect ratio.
10. Video Lipsync
Krea Video Lipsync syncs mouth movements in a video with an audio track. It can turn static or existing character footage into talking content without you having to do the manual mouth animation yourself. Common uses include talking avatars, character videos, marketing content, voice-over localization, educational videos, and social media content.
How to use Krea Video Lipsync?
Open Video Lipsync, upload the compatible video and audio, pick one of the available lipsync models, then generate the result. After that, check the timing of the mouth movements; make sure they sync well before exporting the final version.
11. Motion Transfer
Krea Motion Transfer transfers movement from a source video to another character or image. Krea currently offers motion-transfer models like Kling Motion Control and more. This lets a still character or generated image follow the motion from a real performance. That can cut down a lot of effort needed for character animation. It’s useful for animation, dance videos, product demonstrations, creative video experiments, and AI-generated characters.
How to use Krea Motion Transfer?
Open Motion Transfer, upload the source motion video and the target character or image, choose the right model, then generate the animation. Also use a source clip with clear, easy-to-recognize actions so the transfer looks better.
12. 3D Objects
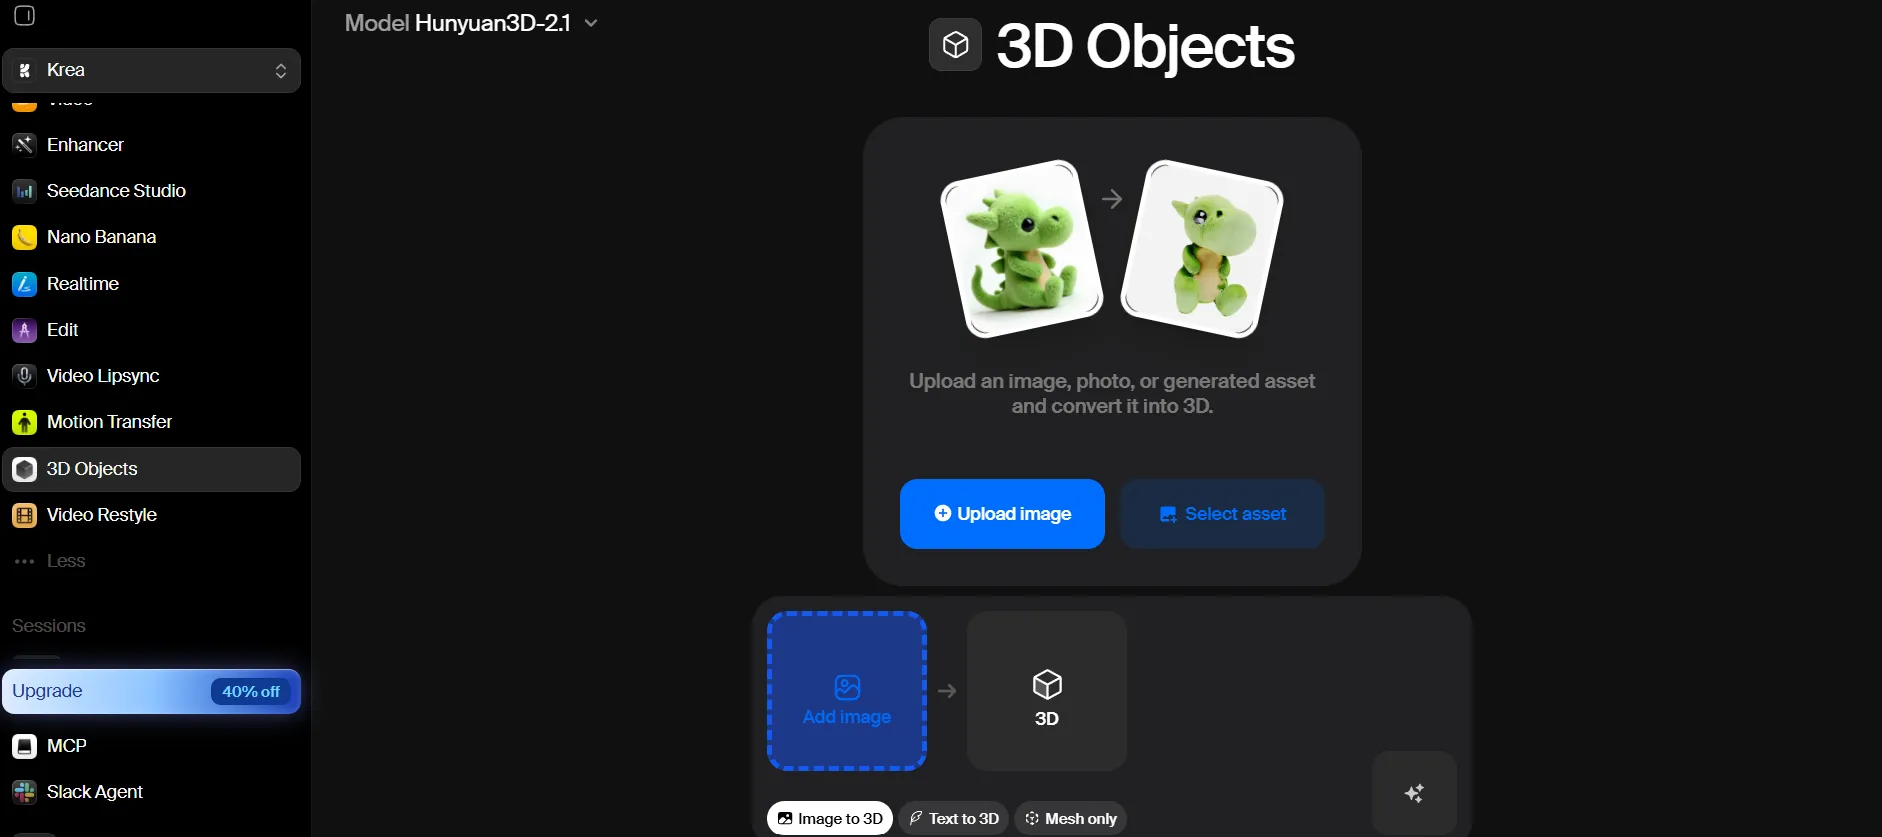
Krea 3D Objects makes 3D assets from text or images. Krea now has dedicated 3D models, such as the TRELLIS 2 and Hunyuan3D variants. Traditional image-to-3D modeling can take a lot of time and technical know-how, but Krea gives you a faster path for visualization, concept building, games, product design, and more.
How to use 3D Objects?
First, open 3D Objects. Then give it a text description or upload a reference image. Next, select one of the available 3D models and generate the object. In product workflows, an image created in Krea can serve as the reference for the matching 3D asset, or at least as a solid starting point.
13. Video Restyle
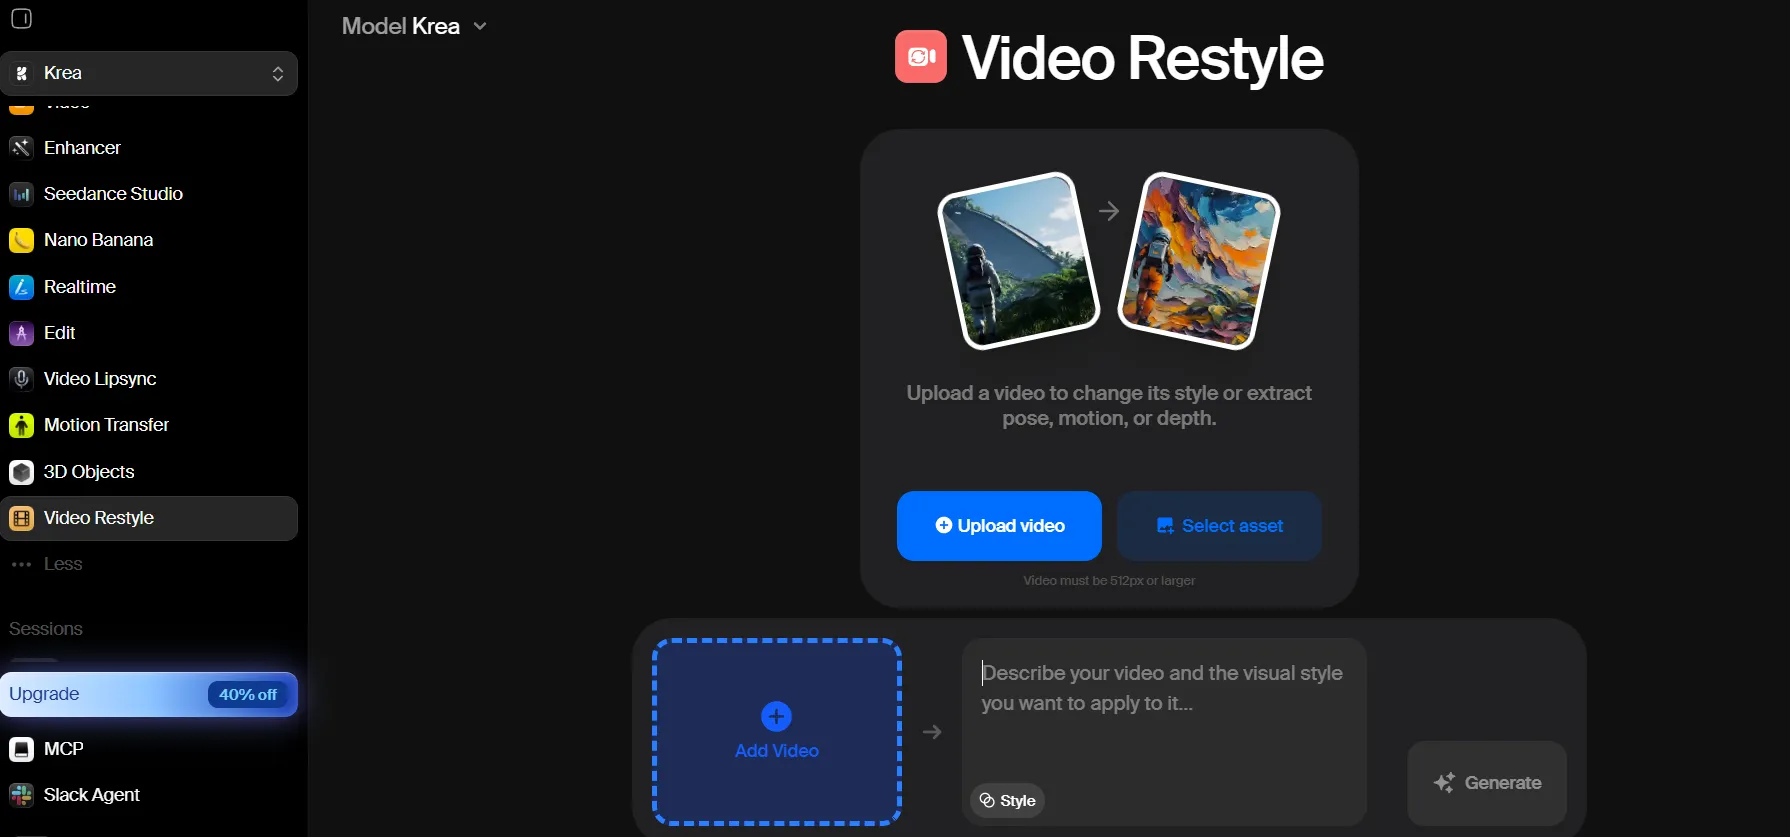
Krea Video Restyle shifts the visual style of an existing video, while keeping the underlying movements. Krea basically positions this feature as a way to remold videos into other visual styles. Video Restyle comes in handy as a video upscaler when the footage is already correct and the timing or performance is right, but the look needs updating. For instance, any clip can be transformed into an animated style or a different visual treatment without rebuilding the entire sequence from scratch.
How to use Krea 3D Objects?
Open Video Restyle, then upload the source video. Describe the visual style you want, and generate the change. After that, compare the versions and pick the one that best fits your project.